|
||||||||||||||||||

|
The supplied speaker terminals are quite hefty silver plated terminals. I did have a problem soldering onto these however and had to borrow a friend's gas powered iron to do the job because they dissipate so much heat. I could of used the supplied terminal tags, of course but I wanted the best possible joint.
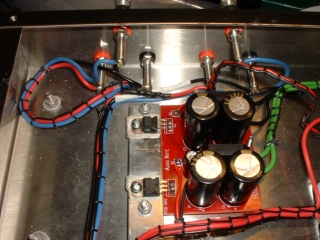
Another problem that I had was with the output transformer leads - the secondary leads from the furthest were not long enough to reach to the back so I had to cut the leads off the nearest one. Not a problem, of course, but I rather wanted to leave the leads exactly the same length as each other. I also had to make the black primary leads longer to reach the PSU board - but that's another story.
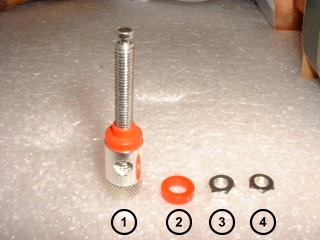 Here are the component parts of the speaker terminals. First insert the post (1) from the back. Next item (2) is fitted and held in place by items (3) and (4). |
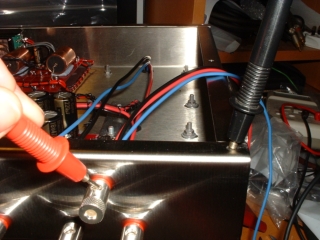
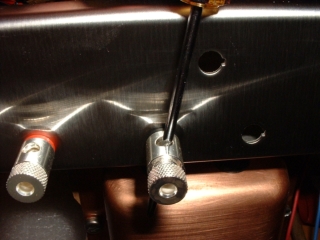 Here I am using a screwdriver to stop the post from rotating as I tighten it up using a spanner. |
Note that there is very little room for a spanner because of the lip of the chassis. You should, therefore, fit them from the edge of the chassis inward. Because of the amount of heat that is needed to solder directly to the posts, you will have to re-tighten again after soldering!
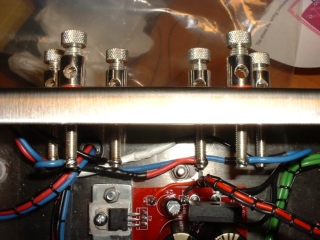
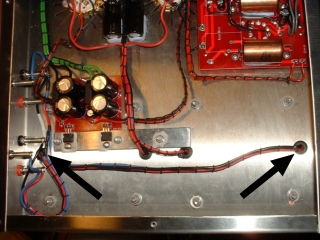 Here the entry points for each output transformer's secondaries are shown. They are a long way apart and the one on the extreme did not have enough wire to reach the terminals and so had to be extended. |
 A closer view. |
 Once soldered into place and all screws re-tightened, check to make sure there are no shorts to the chassis. |
 Now completed. |
I arranged the terminals so that the pairs at the top (when in normal upright position) were the Common and 8ohm taps as these are the most likely for me to use; leaving the 4ohm tap in the middle-bottom.
|
|