|
||||||||||||||||||
|
Initially, this board is built without its two regulators (these are added later because they have
to be aligned correctly while on their heat sink) and is made up of 2 small electrolytics, 4 large
electrolytics, and 2 rectifiers. So, constructing this particular board is by far the easiest part
of the project and shouldn't cause any problems. Just remember to insert the electrolytics the correct
way around.
NOTE: This time I would advise against using PCB pins. Because of the cramped nature of this board, it is virtually impossible to get your soldering iron to some of the terminals from the top (I actually used them and had to de-solder some components later - silly me).
It is also important with this board to cut off the component legs to a minimum size because there will be very little clearance between the board and the chassis once fitted.
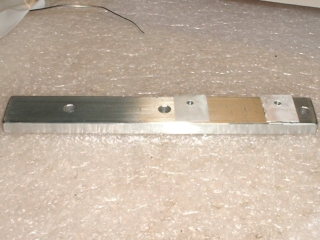
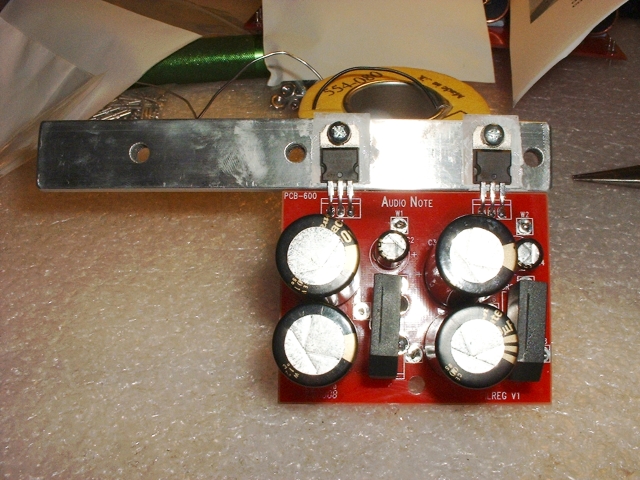
The two regulators for this board are screwed to the heat sink before soldering to the board. I used a very small amount of heat sink compound on both sides of the mica washers. It must be noted, however, that only a small amount should be used - use any more (a very common mistake) and heat sink compound can have a very negative effect; it is only used to fill microscopic gaps in the mating materials. I find that the best way to apply it is to put a small amount between index finger and thumb and rub these on the mica washers before laying them in-place on the heat sink. Heat sink compound is very very messy stuff and tends to get everywhere if not kept in check so don't forget to wash your hands before proceeding. Next, lay the regulators onto the mica washers and insert the compression spacer before finally screwing down. Once screwed into position (and correctly aligning with the corresponding pads on the board) it is a good idea to check for shorts with a multi-meter - the regulator body must be insulated from the heat sink and screws. Solder the regulators with about 1 - 1.5mm of lead protruding from the back of the board and 'bend' the legs so that the board is about level with the top of the heat sink.
 Filament board with mica washers lightly coated in heatsink compound. |
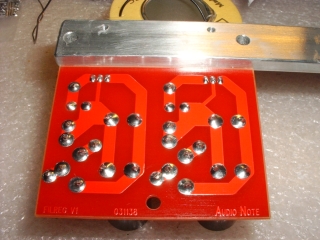
 Back of filament board. |

Finally, I soldered the two sets of wires that will be attached to the 300B filaments. We don't want to physically attach the heat sink yet because we still have to solder the AC wires from the mains transformer secondaries before doing so.
|
|
