|
||||||||||||||||||

|
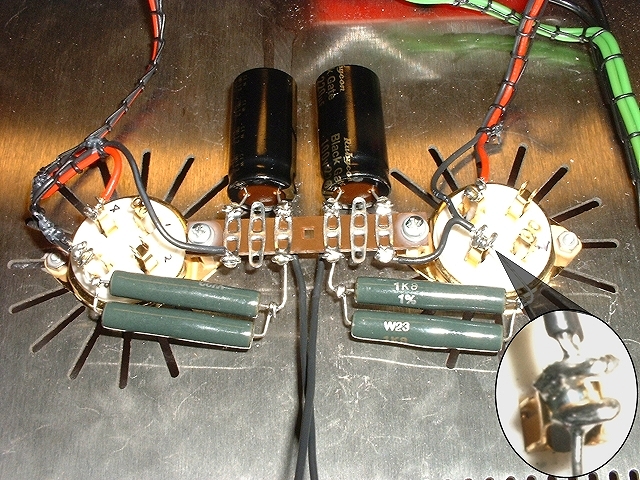
First the two 300B sockets are mounted on the chassis. The two outermost ends are attached with screw washer and nut while the inner two are secured with screw washer and threaded spacers.
A tag board is suspended between the two spacers. This need to be cut down to size, some of the tags removed, and the holes at either end filed slightly (with a needle file) so that the slots line up with the spacers.
 Valve bases and tag board fitted. |
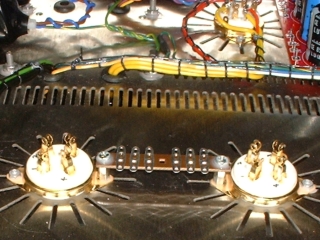 Another view. |
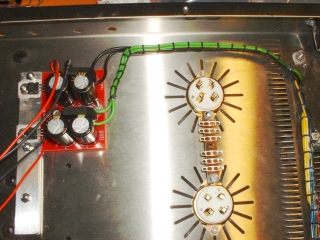
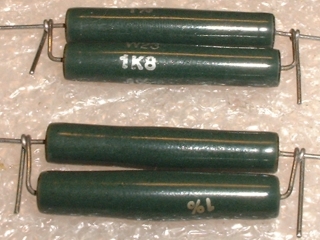
On one side of the spacers are positioned two piggy-backed pairs of power resistors. These will create lots of heat so should be positioned over the chassis slots for best ventilation. Also, when 'piggy backing', make sure that the two resistors have a slight gap between them for further ventilation. Allowing them to touch is not a good idea.
 Carefully wrap the leads of one resitor around the other. |
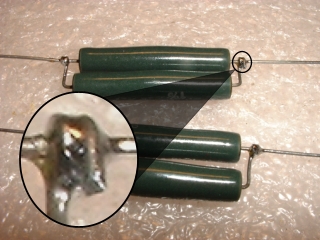 Solder and cut off excess. |
Now it is time to begin the wiring beginning with the DC filament connections.
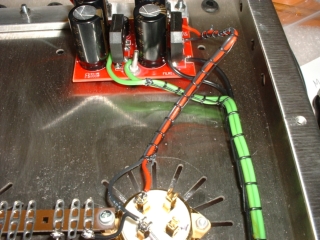 Wires connecting the DC filament board. |
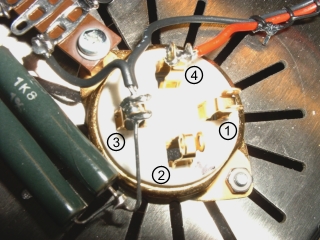 Pin 3 accepts 3 wires. |
|
|